From install to your first printed batch
Six steps. The user manual covers every setting, status and recovery in depth.
Download the PDF- 01
Install and open
You need a Mac on Apple silicon, macOS 13 or later and Pro Tools 2024.10 or later. Drag StemStation into Applications and open it.
- Sign in with your account, or press Sign up to make one, then choose a plan or start a free trial. A trial lasts a set number of days, and the app shows how many are left.
- Grant permission when asked, and switch StemStation on in System Settings. StemStation drives Pro Tools for you, and macOS needs your permission for that.
- Take the two-minute Walkthrough, or press Get Started.
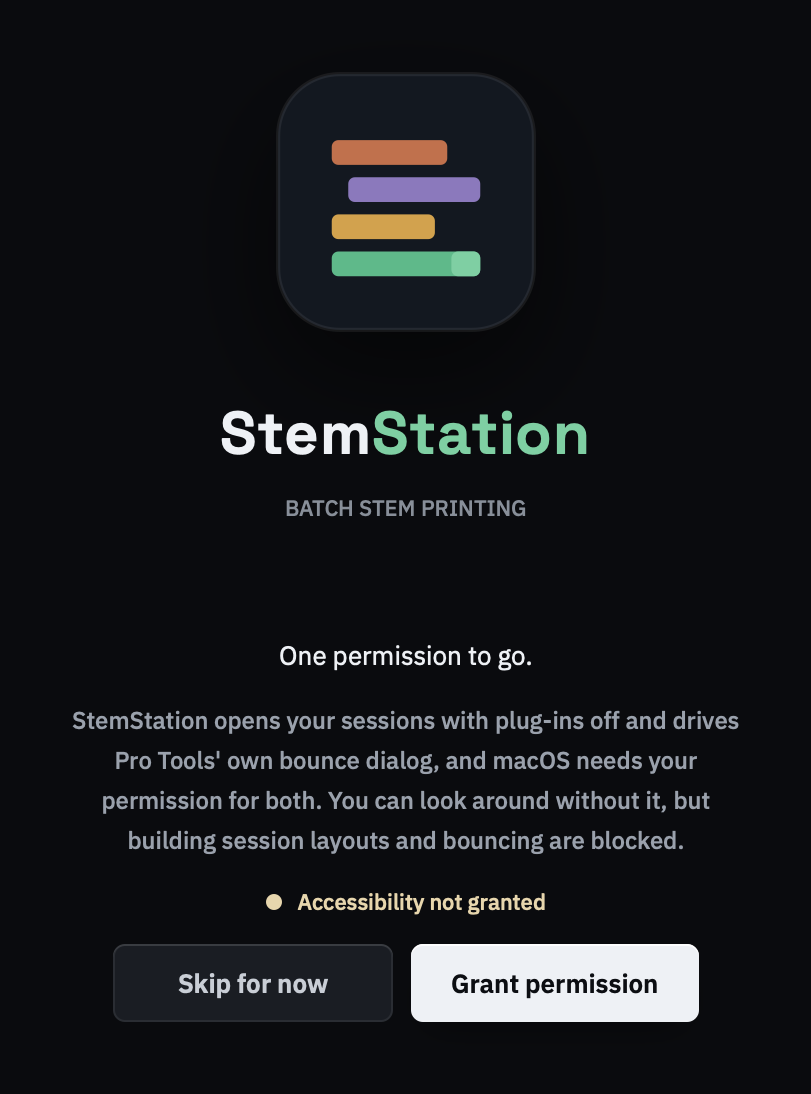
First launch. - 02
Add your sessions
Drag your
.ptxfiles onto the box in the middle, then press Read layouts. The app reads each session's tracks straight from its file; Pro Tools is not needed for this.- Your sessions are never changed. The app copies each one into a StemStation Projects folder beside it and works on the copy.
- Your stems still land in your own session folder, under Bounced Files.
- If a session cannot be read from its file, its row offers Build with Pro Tools instead.
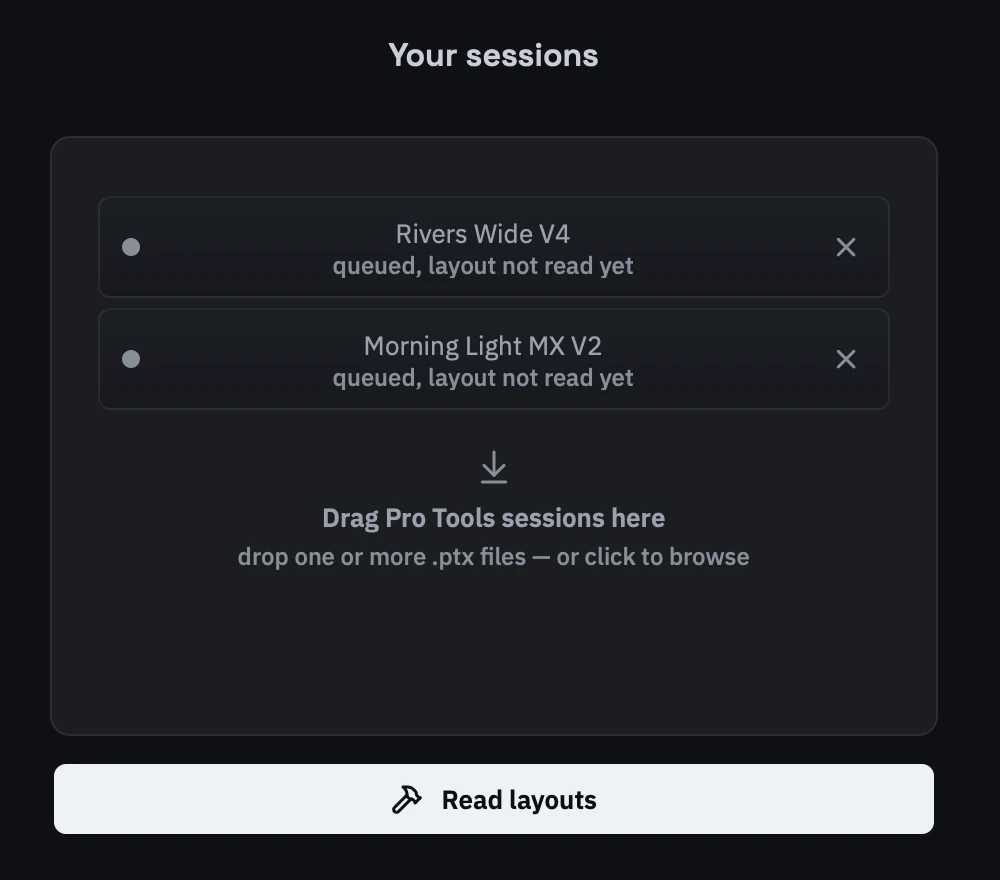
Two sessions queued, waiting to be read. - 03
Make your stem groups
Click one of your loaded songs in the Batch queue panel, top right, and choose whether it prints Stems or a Stereo mix. For stems, right-click any audio track or folder in the track list in the middle and add it to a new or an existing group, or drag it onto the Stem groups panel on the left. Every group becomes one file, named after the group.
- Add a folder and every track inside it comes along.
- Mute or unmute tracks as needed. For example, mute the vocal tracks to print an instrumental version. Right-click a track for Mute for print or Unmute for print.
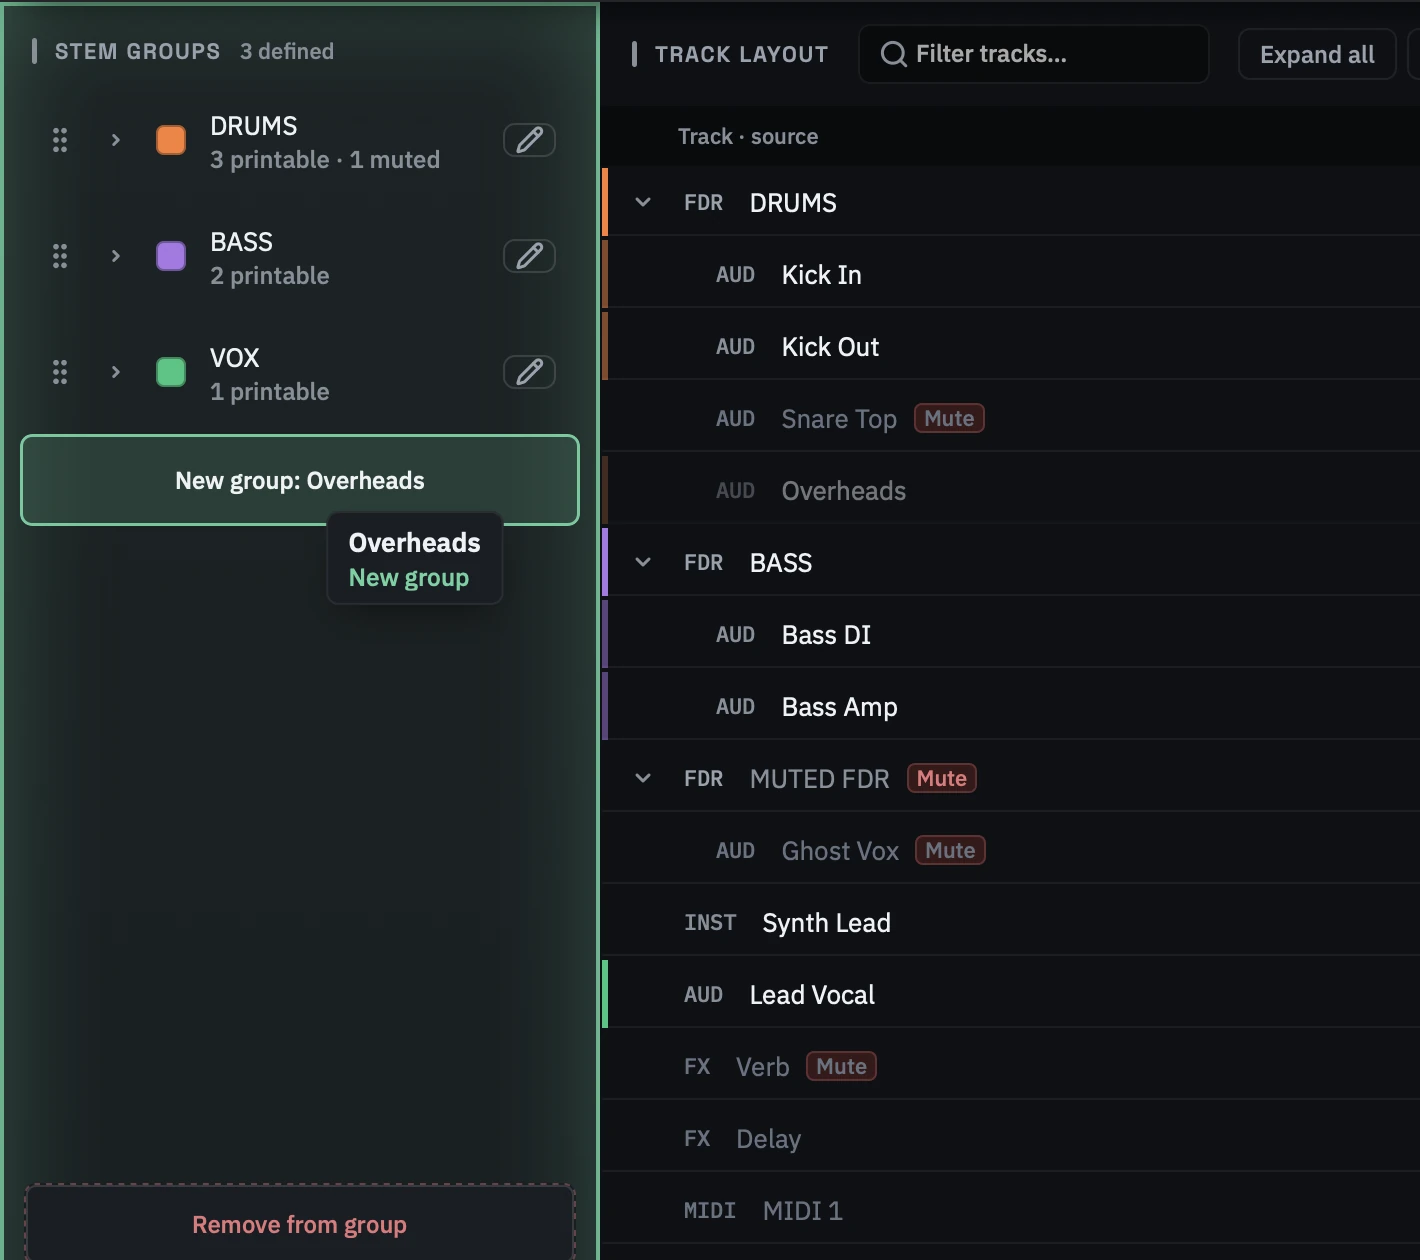
Overheads dragged to the panel: a new group is about to be made. - 04
Set the format and print
Press Bounce. With All songs selected, choose bit depth and file format for the batch. Click a song to set its Mix Source (required), sample rate, print region and output folder. Press Continue →, read the pre-flight, press Bounce N songs.
- Won't print on the pre-flight lists anything that needs fixing first.
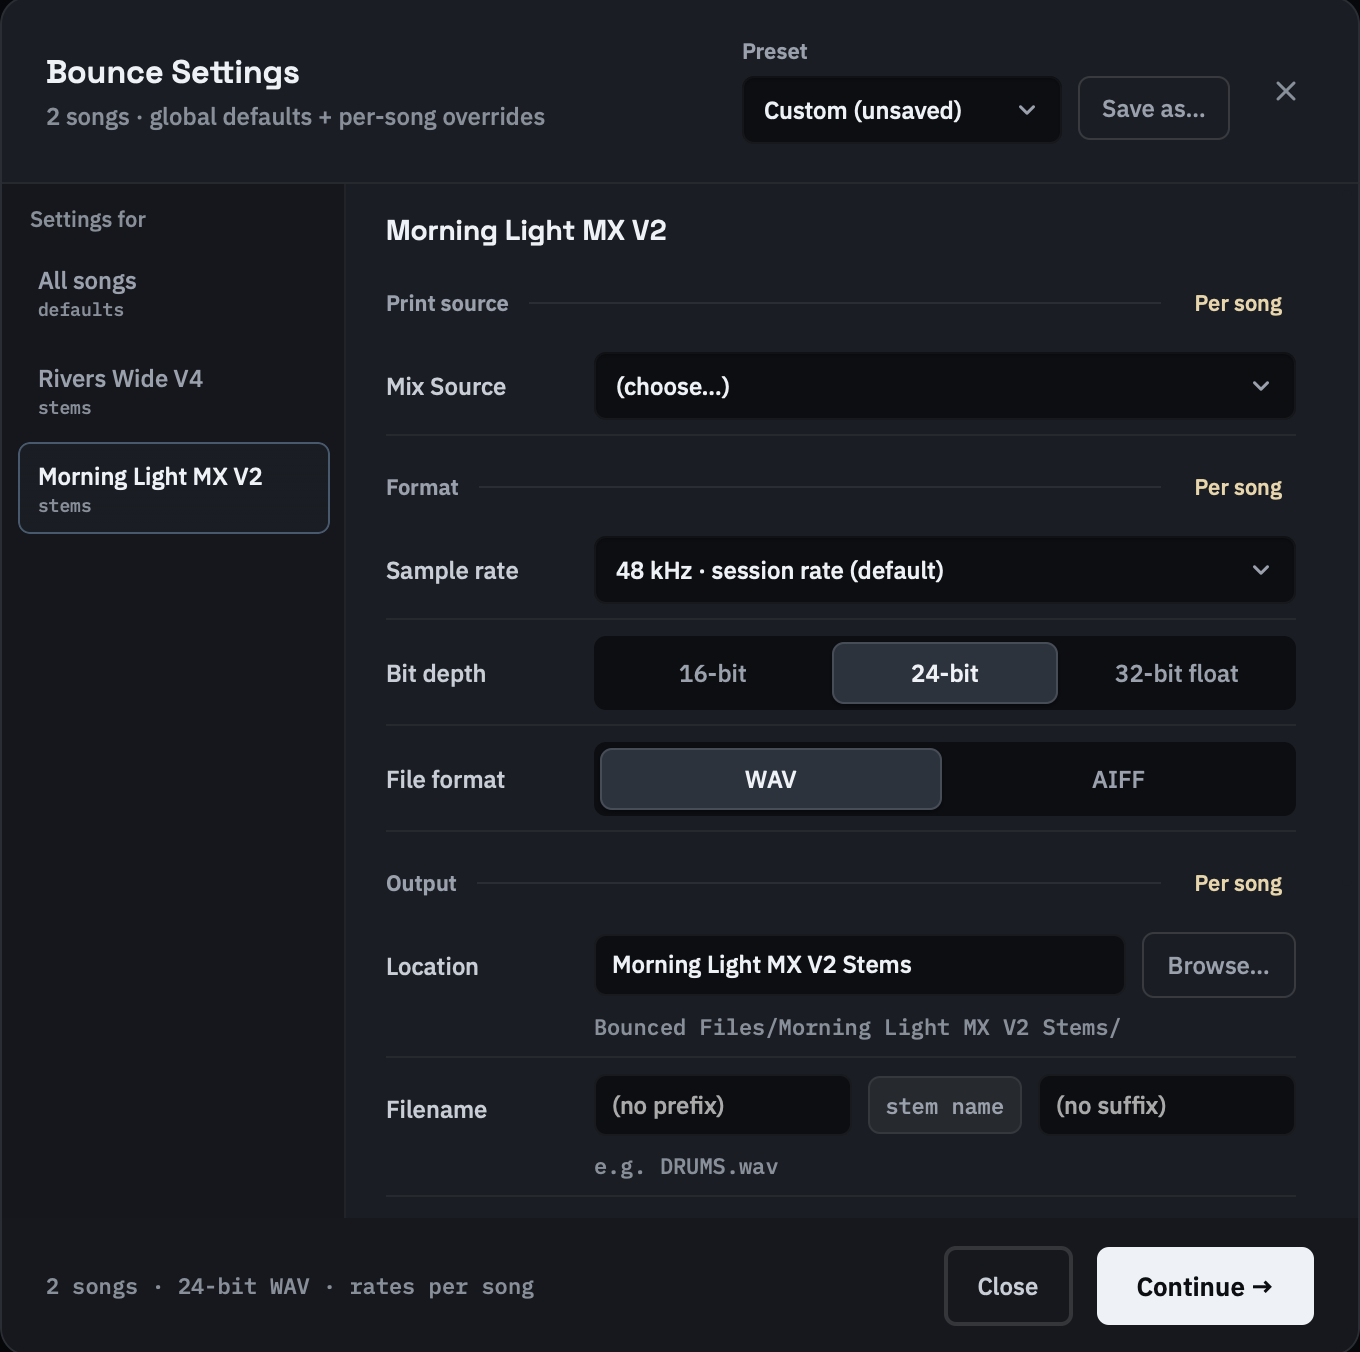
One song's settings. Everything here belongs to the song. - 05
Walk away
A small panel stays on top of Pro Tools and shows which song and stem is printing. StemStation works through every song on its own.
- Don't touch Pro Tools while it prints, and don't let the Mac sleep.
- If Pro Tools stops responding, wait. The app restarts it and carries on. About four minutes, and it looks idle.
- Action needed in Pro Tools means a dialog the app does not know. Answer it and printing continues.
- Pause and Cancel print each ask whether to finish the current stem first or act now. Stems already printed are kept.
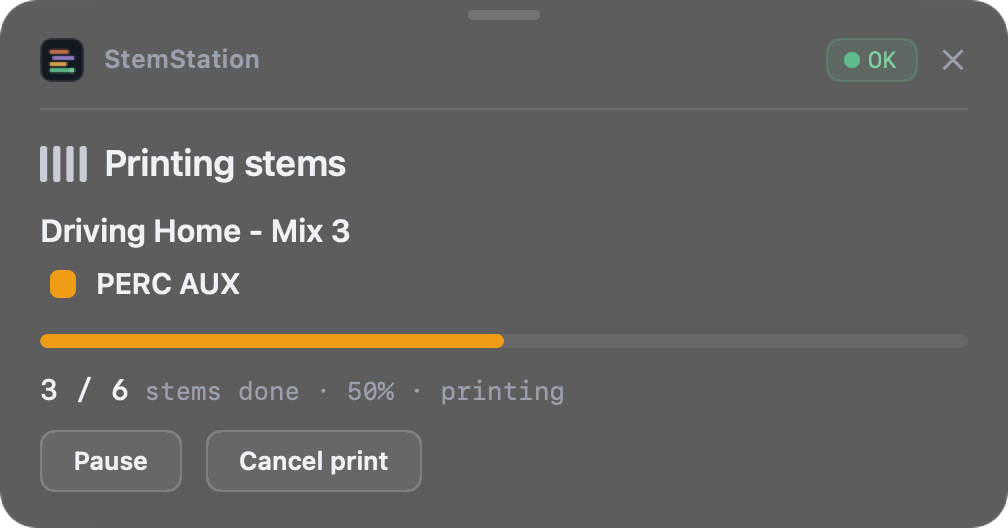
The progress panel. - 06
Check the result
When the batch ends, the report opens: how many songs printed, then every stem with its status, length and size. Reveal in Finder opens your stems; Save as PDF keeps a copy of the report.
- Complete: printed and checked. Silent: printed in full, almost no signal. Usually right; if not, check muted tracks and the Mix Source.
- Truncated, Abandoned or Skipped: the song needs another go, and the report says why. Each one has an Include / Exclude switch; Retry prints the included ones again.
- Back to songs starts a fresh batch. Finish and close quits StemStation.
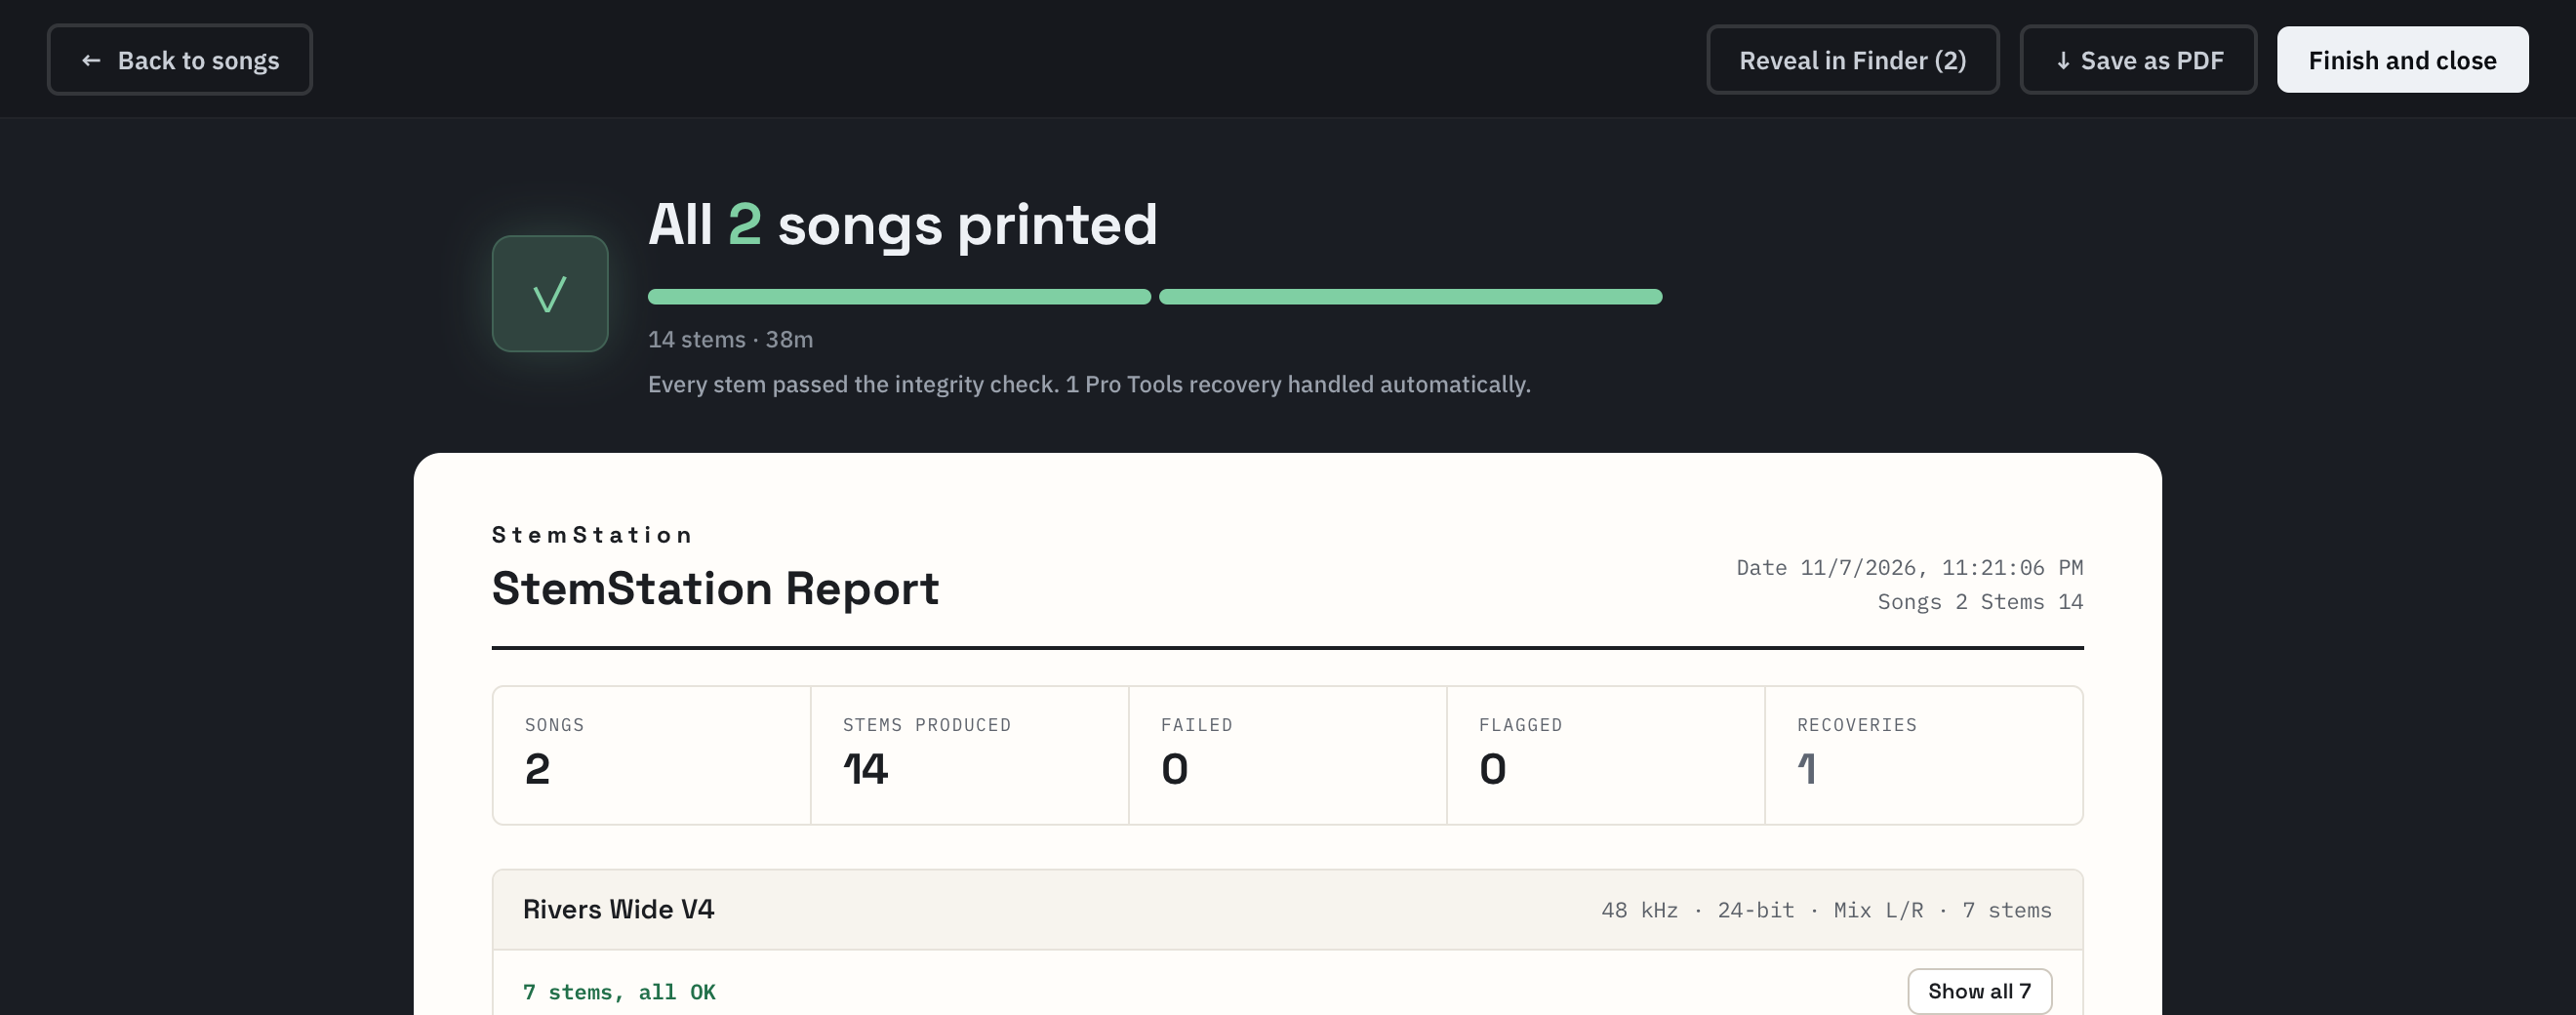
The report at the end of a batch.
Watch the first run on a new or heavy session. Once it has printed cleanly once, it is safe to batch and walk away. Stuck? Send the encrypted support bundle from Settings ▸ Status to support@stemstation.app. It holds the app's own logs (song and folder names included), never your session files or audio.